> For the complete documentation index, see [llms.txt](https://docs.zenlytic.com/llms.txt). Markdown versions of documentation pages are available by appending `.md` to page URLs; this page is available as [Markdown](https://docs.zenlytic.com/proactive-agents/getting-started.md).
# Proactive Getting Started
Build reusable Zoë conversations, run them on demand, and share them across your workspace.
Proactive Agents allow us to build and run entire conversations with Zoë, and then enable others in the organization to re-use those conversations easily. With this feature, Zoë is more proactive and reusable for solving task-specific analyses than ever before.
Proactive Agents can be used to automate repetitive data processes, iterate on better Zoë prompts, and much more. Some examples include:
* Building narrative-based weekly business reviews that can be re-run periodically
* Automating a tedious manual process of reconciling CSVs against database data
* Demonstrating chains of thought and other Zoë prompting techniques to new users
* Saving exceptional conversational outputs from Zoë so that the reasoning steps can be reproduced and refined
* Getting lists of products or customers and then having Zoë produce personalized long form promotional content for each one
Proactive Agents are ideal for implementing tasks where you need one or all of the following characteristics:
* You need analytical tasks to be run automatically on a schedule and sent to you when completed
* You need precise control over the exact sequencing of analytical reasoning steps
* You need to query and transform data across multiple conceptual steps
* You need structured, predictable outputs and consistent, formatted results
* The task involves conditional logic - different behaviors should be taken based on intermediate results
## Navigating to Proactive Agents
1. To view your Proactive Agents and create new ones, from the left-hand navigational sidebar, click on ⚡Proactive Agents
## Viewing Proactive Agents
By clicking the *Proactive Agents* option in the left-hand navigational sidebar, you will see a list of Proactive Agents that exist in your workspace. The three-dot menu reveals options to run, duplicate, or delete a Proactive Agent. When you click on a Proactive Agent's name or highlighted row, you will be navigated to the Proactive Agent Builder.
## Creating Proactive Agents
In the upper right-hand side of the screen, you can create new Proactive Agents by pressing *Create a New Agent*. This button will then navigate you to the Proactive Agent Builder.
## Creating Proactive Agents from Chat
Zoë can create Proactive Agents for you — just ask. When your message indicates you want something sent on a schedule to email or Slack (e.g. "send me this chart every morning at 8a"), Zoë creates the agent for you using the *Create Proactive Agent* tool call. Review the agent's name, instructions, and schedule in the tool call drawer, or open it from the Proactive Agents page like any other agent.
A few things to keep in mind:
* Zoë can edit a Proactive Agent only from the chat where it was originally created. Previous versions of the agent are read-only and are accessible only from the tool call drawer in that chat.
* Zoë can only create and edit Proactive Agents that send to you, the logged-in user. To send to other destinations, add them manually in the Proactive Agent Builder.
## Editing Proactive Agents
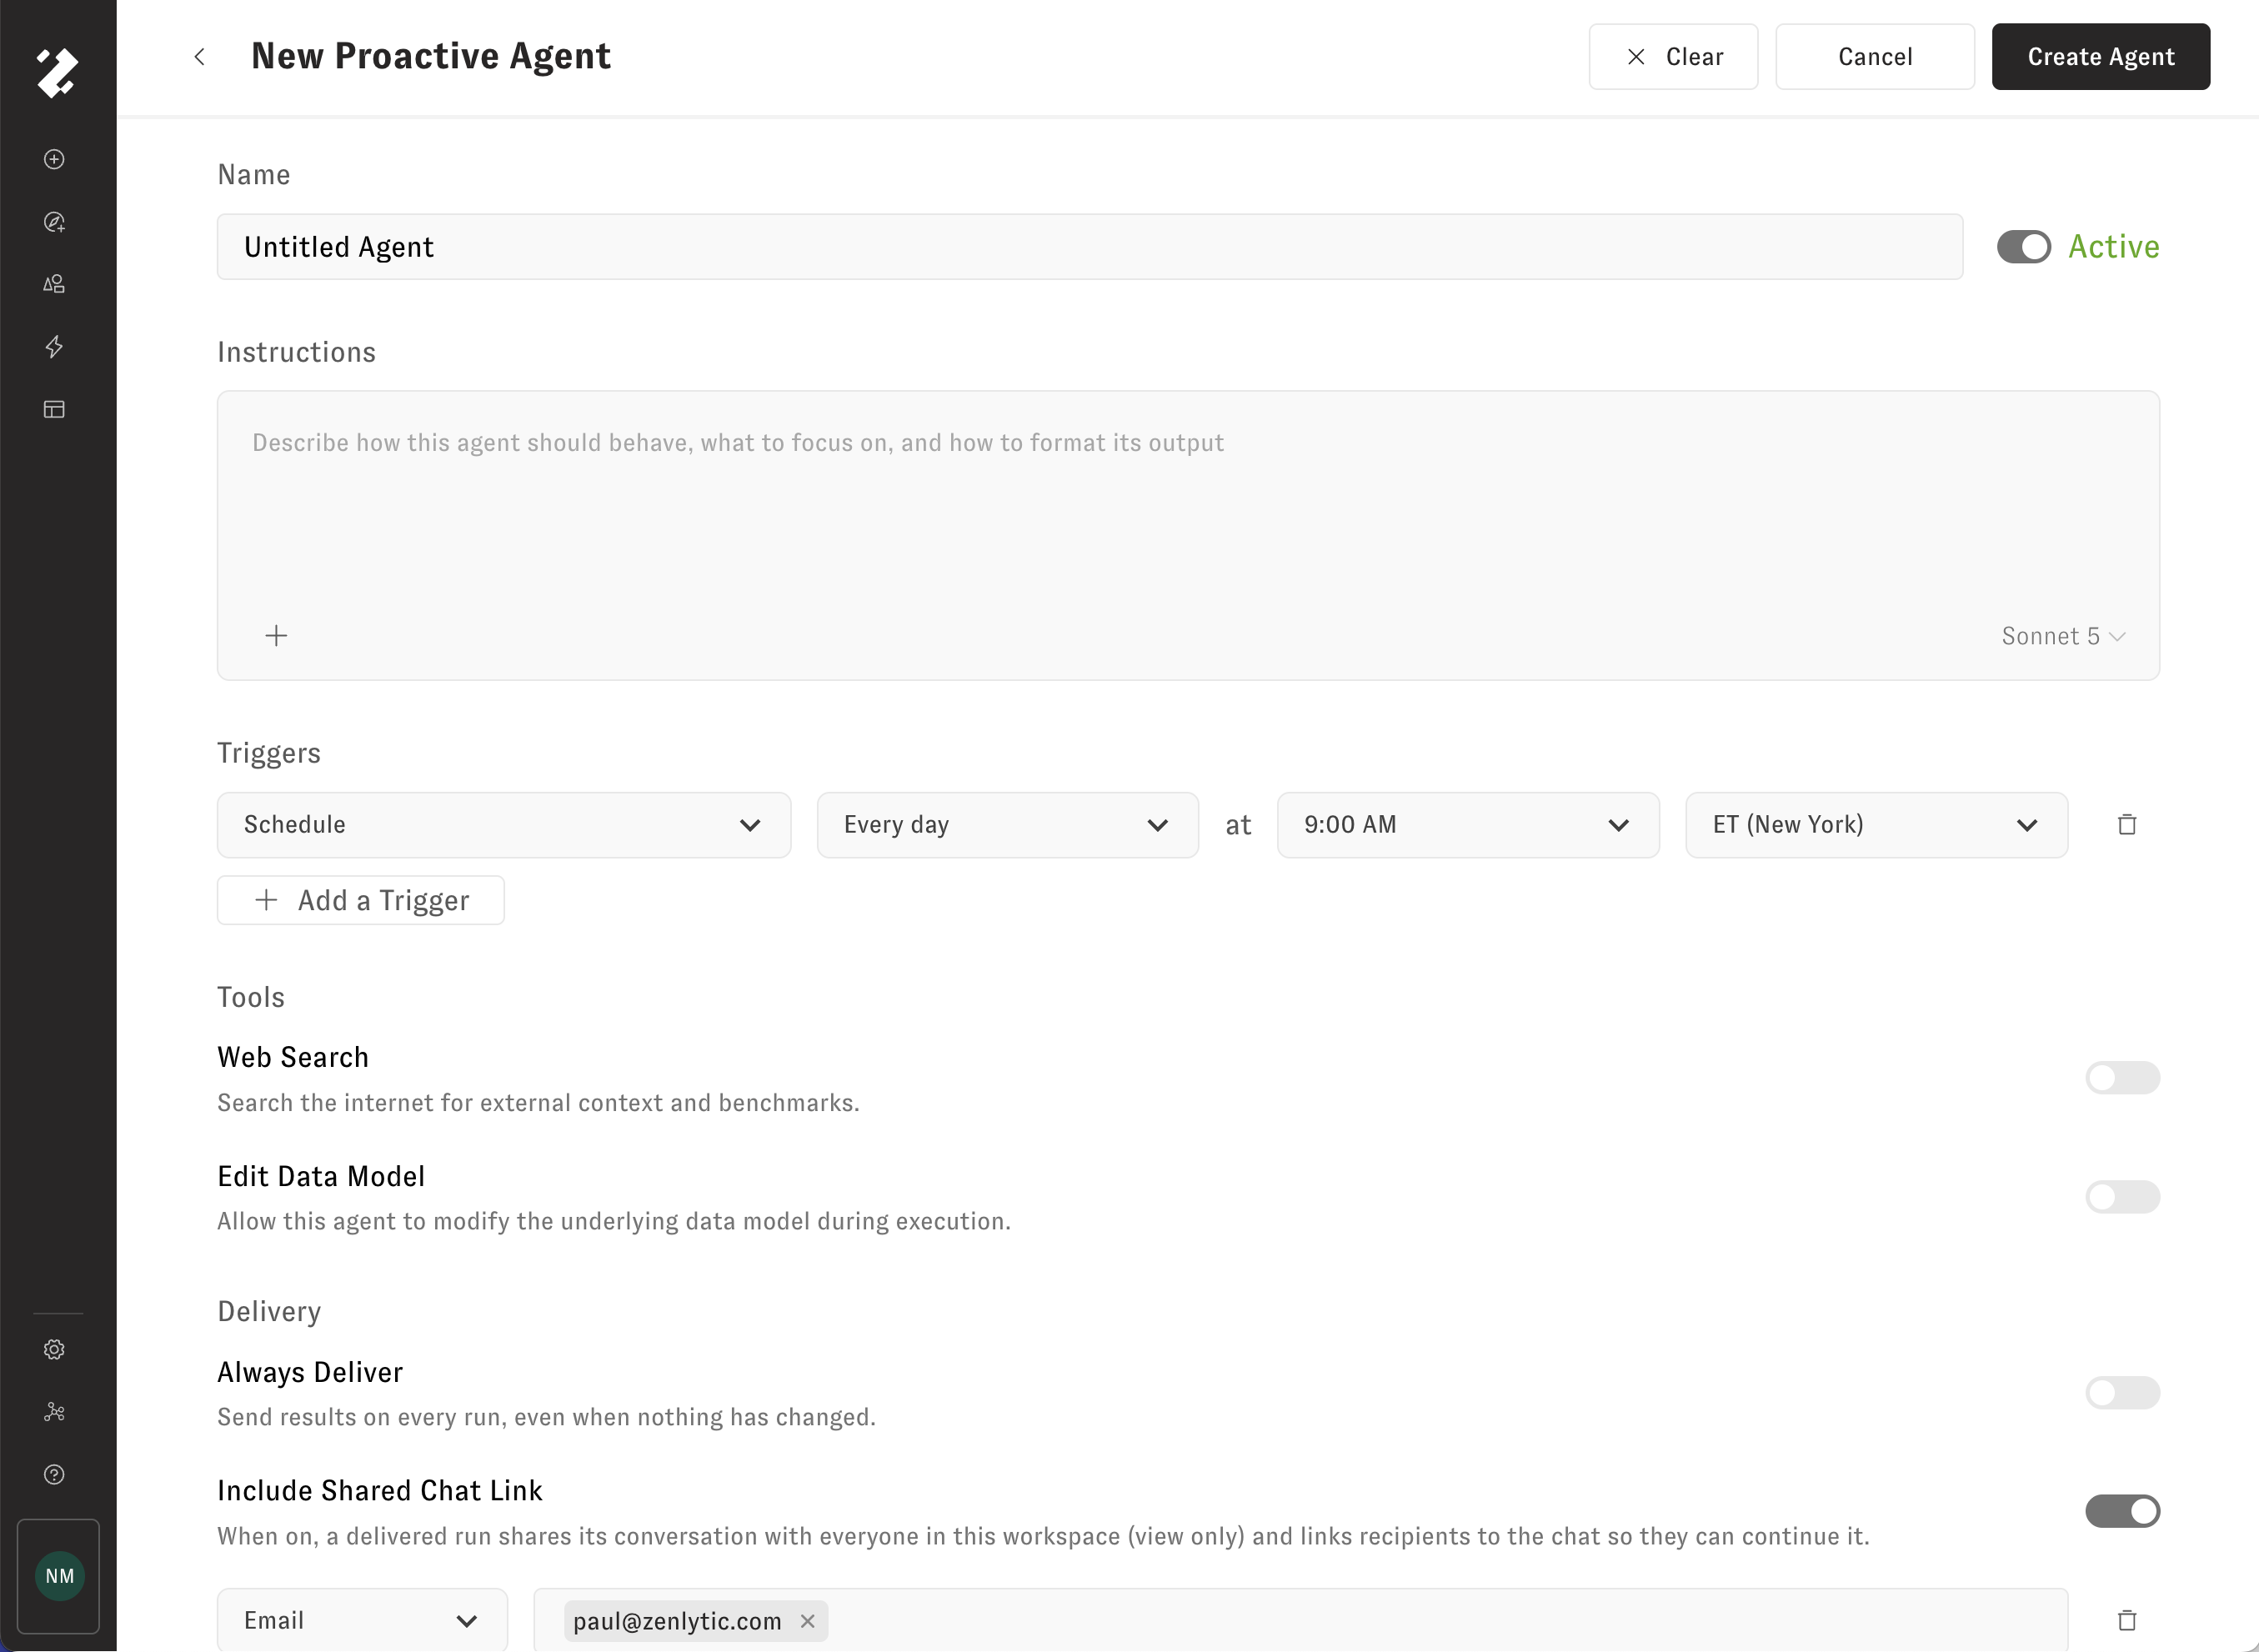
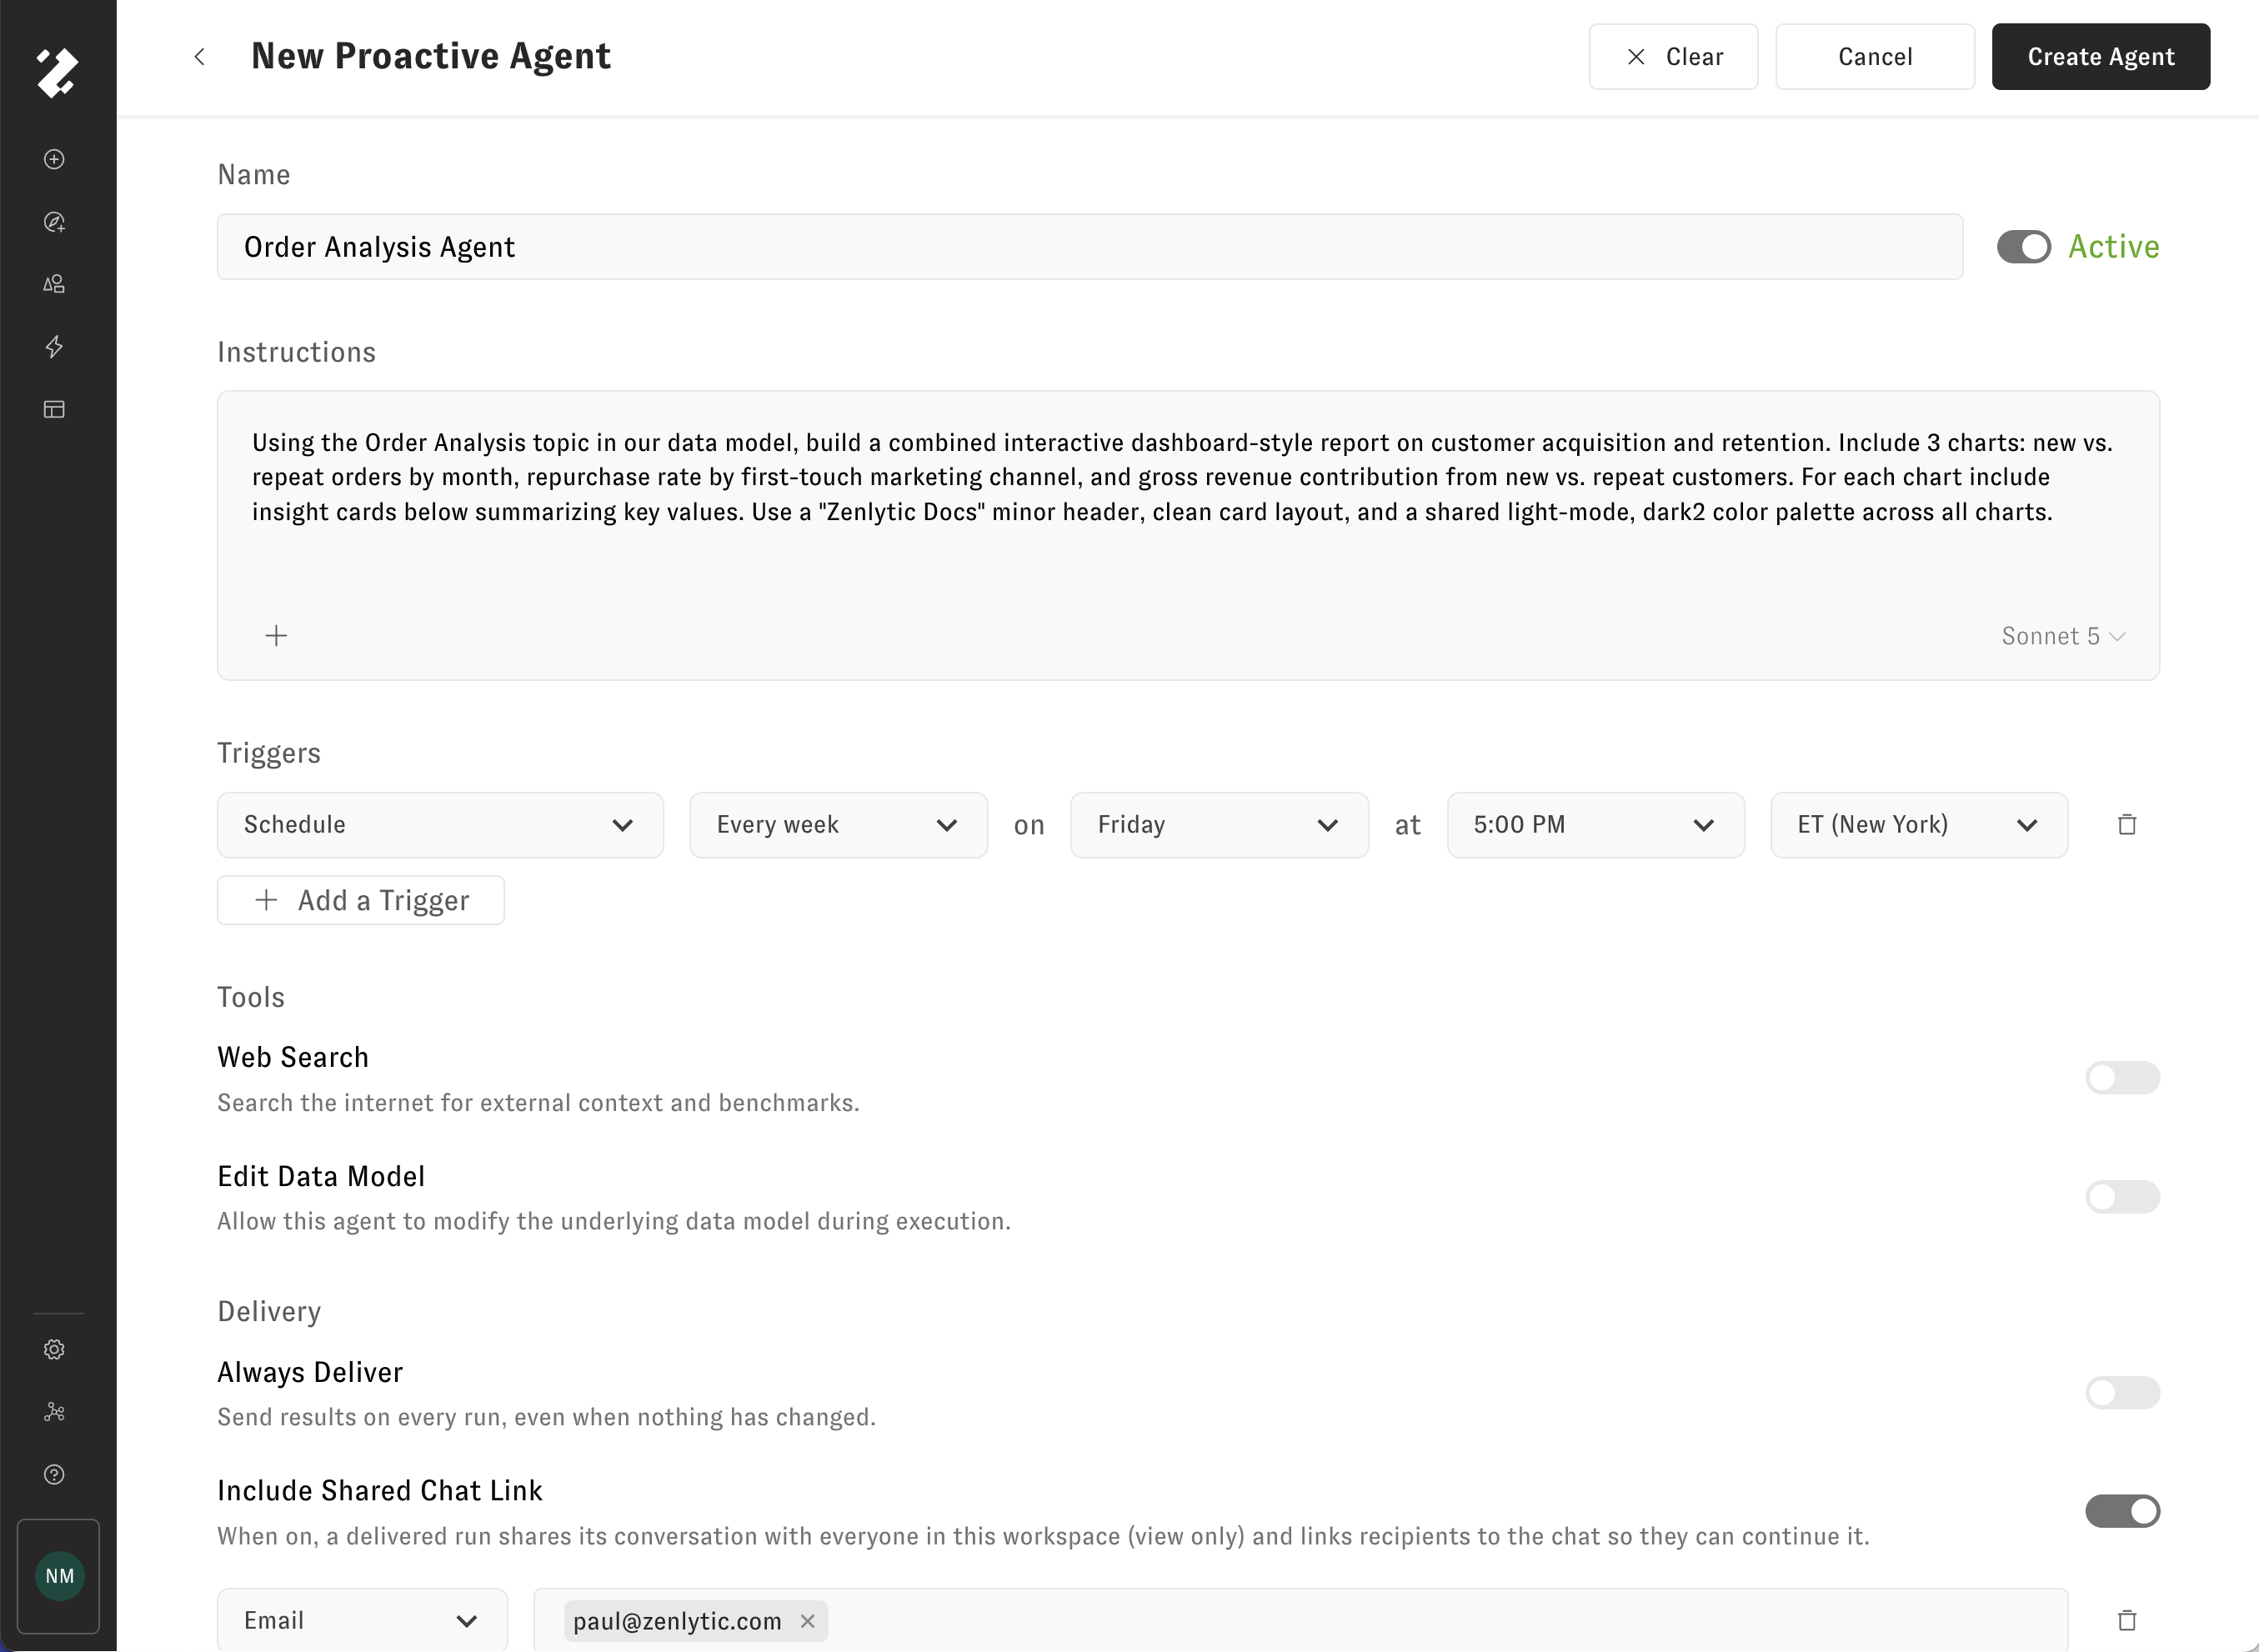
By default, the newly created Proactive Agent will be titled "New Proactive Agent" and contain no instruction details. We can click the Proactive Agent title and type to change the title. The new name will be saved with an outside click or "Enter" keypress.
Proactive Agents allow us to define a specific Zoë task that will be run as a conversation. Let's click through the form options on this *New Proactive Agent* page to get started. Click on the *Create Agent* then the *Test Run* button in the upper right-hand section to preview a run of our new Proactive Agent.
When the Proactive Agent conversation preview has completed its run, we can inspect its output, run it again, or we can modify the Proactive Agent before running again.

## File Attachments
Files and workspace Artifacts can be added to Proactive Agent instructions as attachments by pressing the *Plus* icon button in the Instruction textarea's bottom left corner.
## Create Proactive Agent from an existing Conversation
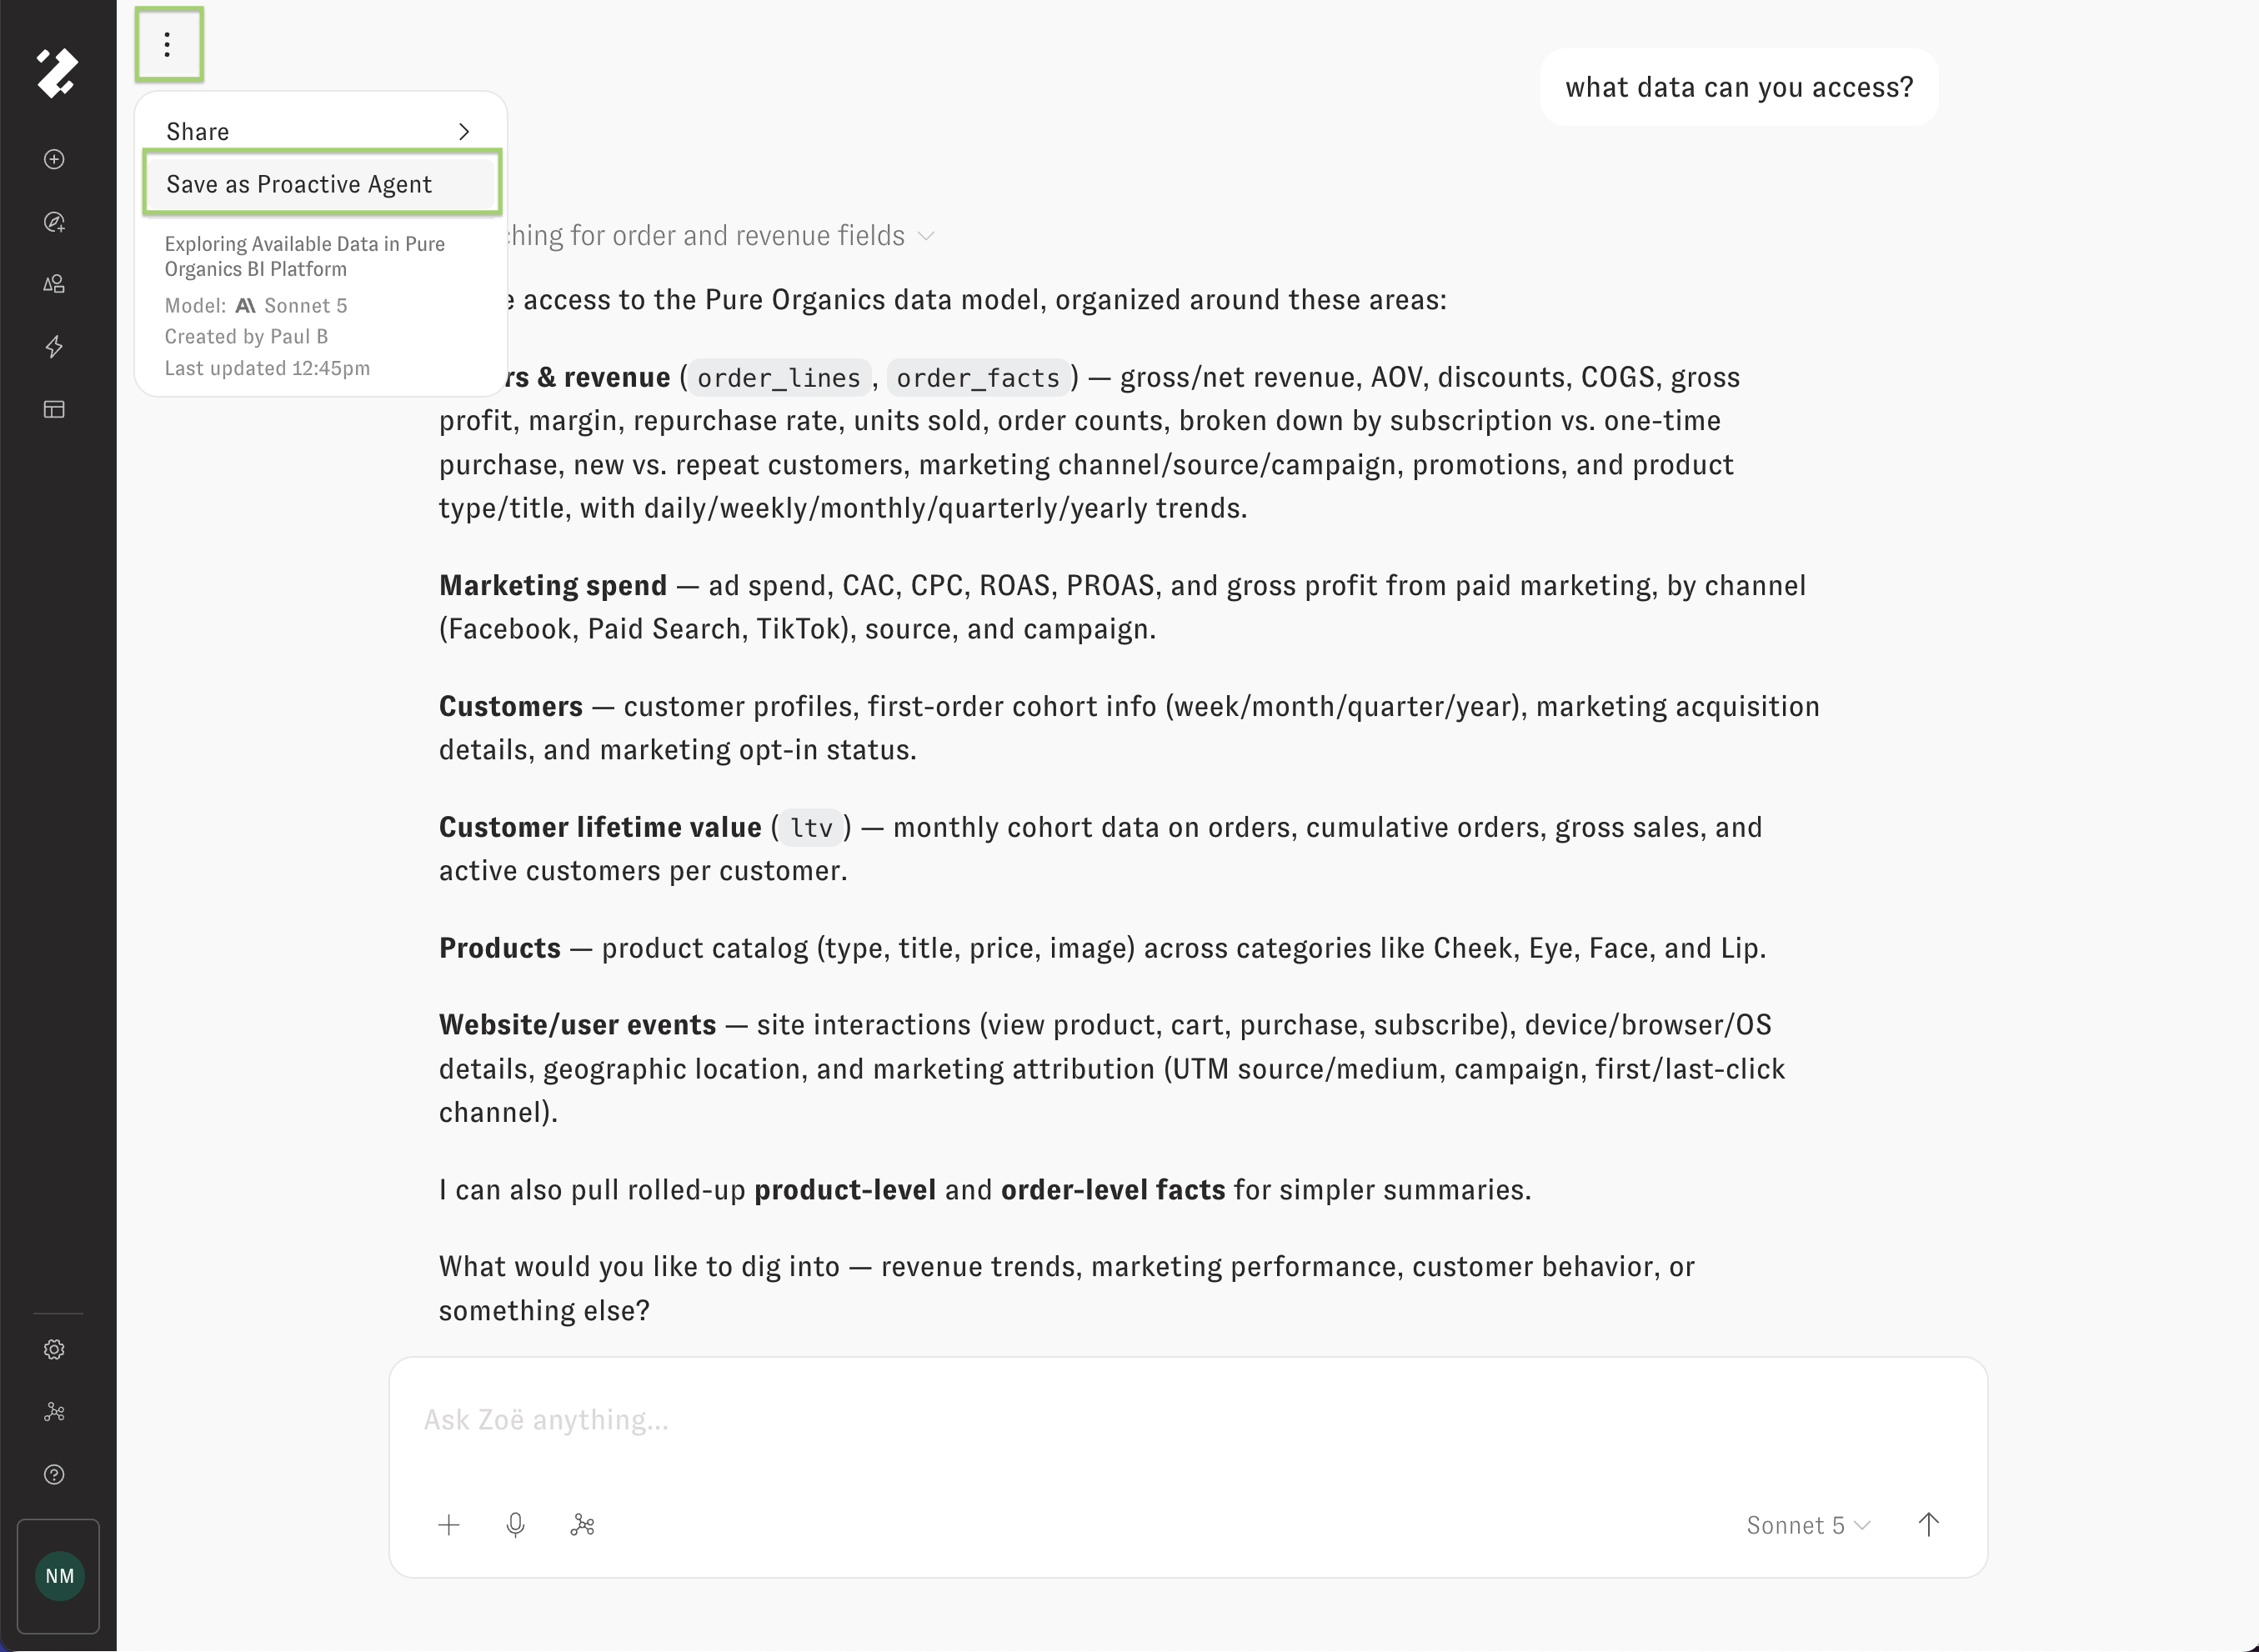
From an existing chat, we can click the "Save as Proactive Agent" button in the three-dot dropdown menu to create a new Proactive Agent from the outline of an existing chat. It will be saved in the Proactive Agents tab, and you can navigate to it in the future by hovering over the left-hand navigation side bar and clicking on 'Proactive Agents'.
---
# Agent Instructions
This documentation is published with GitBook. GitBook is the documentation platform designed so that both humans and AI agents can read, navigate, and reason over technical content effectively. Learn more at gitbook.com.
## Querying This Documentation
If you need additional information that is not directly available in this page, you can query the documentation by asking a question.
Perform an HTTP GET request on the following URL with the `ask` and `goal` query parameters:
```
GET https://docs.zenlytic.com/proactive-agents/getting-started.md?ask=&goal=
```
`ask` is the immediate question: it should be specific, self-contained, and written in natural language.
`goal` is what the user is ultimately trying to achieve, the reason they need the answer. Sharing it helps GitBook give you a better, more relevant answer. A goal is most helpful when it describes the outcome the user wants rather than restating the question. For example, with `ask=how do I create an API token`, a goal like `automate deployments from our CI pipeline` lets GitBook tailor the answer to that use case.
The response will contain a direct answer to the question and relevant excerpts and sources from the documentation.
Use this mechanism when the answer is not explicitly present in the current page, you need clarification or additional context, or you want to retrieve related documentation sections.